by Steve Trusty, Garden. org
Photo by Chelle
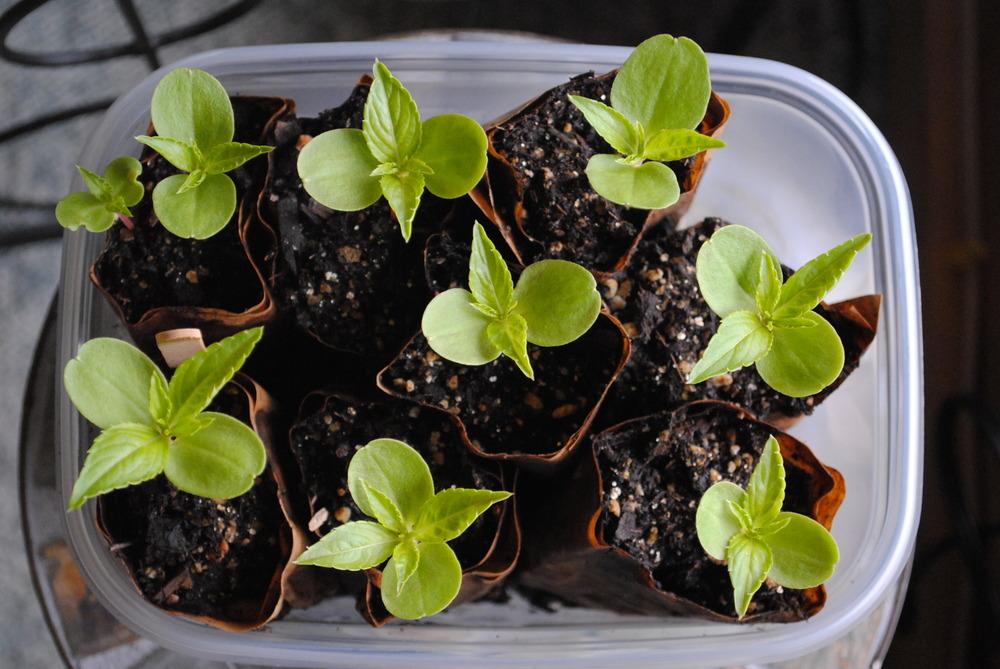
There are three excellent reasons to start plants from seed. First, you’ll have many more varieties to choose from. Garden centers and greenhouses usually only offer the most popular plants and leave many new or old-fashioned varieties off the table. Starting plants from seed also can be much less expensive than buying only started plants. And finally, you have the joy and satisfaction of starting your own plants and watching them grow under your care. You have the added benefit of being able to give away extra plants if more germinate and survive than you have room for.
Whether planting flowers or vegetables here are some tips to ensure success.
1. Choose and order your seed as soon as possible. Look at the catalogs and websites and decide what plants you want to grow from seed. Consider both your outdoor planting space and the space available inside for starting plants. Get your orders placed early so you can be sure your choices will be in stock and you’ll have seeds in hand when their appropriate starting time arrives.
2. Check out the requirements of the seeds that you have ordered. Catalogs and websites will provide quite a bit of information. There is also usually considerable information on each seed packet.
3. Gather or order the materials you’ll need. For seed starting containers, you can use such common household items as small paper cups, egg cartons (even egg shells!), or deli containers with plastic domes. Just make sure you can put drainage holes in whatever you use. You also can purchase pots or seed starting kits.
4. Use a purchased seed starting mix for best results. Commercial soil-less germinating mixes designed for starting seeds are fine textured, provide adequate moisture retention and drainage, and are free from disease-causing organisms.
5. If you are reusing containers from previous years, clean and sanitize them first. Scrub containers in warm, soapy water and rinse. Next submerge them in a solution of 1 part household bleach to 9 parts water and let them soak for 10 minutes. Finish by rinsing containers in clear water and letting them air dry. Be sure to wear rubber gloves for this task.
6. Determine the best time to start each kind of seed. Check the seed packet, catalog or website to help you decide on the best time to seeds. Take into consideration the length of the germination period, the number of days to maturity, and the suggested planting date. Also determine the average frost free date for your area. Count backwards from that date the number of days needed to grow a plant established enough to plant outdoors. Starting a little late is better than starting too early.
7. Determine any special needs particular seeds might require. Many seeds germinate in a week or two without any special treatment. Others may require some extra help. Some seeds will germinate better if soaked first for a period of time. Some may need to have the seed coat broken (scarified) to aid in starting. Some need a period of chilling. Some need light to germinate and should be sown on the surface of the germinating mix, not buried. The seed packet, catalog or online resources will provide the specifics. Unless otherwise specified, seeds need warmth for best germination and bright light once germination occurs.
8. Thoroughly moisten the seed starting mix. Make sure your seed starting mix is sufficiently moist before planting. Soak it and let excess water drain away.
9. Place seedlings in a sunny south window or under fluorescent lights. If you don’t have suitable south windows, an eastern or western exposure is your next best. You can replace or supplement natural light with fluorescent plant lights. Place the lights a few inches above the containers and keep raising them as the plants grow.
10. Keep the humidity level high around the plants. Before the seeds sprout, plastic wrap or moist burlap can be draped over the containers. After the seeds have sprouted, the humidity can be kept up with pebble trays filled with water or misting of the plants. Don’t overwater though. If the soil is wet, the tender seedlings may rot instead of growing. The soil should be allowed to approach, but not quite reach, the dry side before watering.
11. Transplant seedlings. When your seedlings have two to four true leaves it is time to move them to slightly larger pots. The plants will be easier to keep evenly watered if you move them up in smaller increments. In other words, the pots should not be too big.
12. Harden off the plants before planting them outdoors. As the outdoor planting date approaches, get your plants acclimated to outdoor conditions. On days when there is no danger of frost, set the plants in a shady area, protected from the wind, for a few hours per day. Gradually increase the time outdoors and the intensity of light plants are exposed to. Make sure you bring plants in if frost is predicted. Watch the long-range forecasts and when all danger of frost is past, plant with the joy of your accomplishment into the selected areas of your landscape and gardens.
